Hoth Leia: Jumpsuit
Update: 6/12/06
Quick fabric note from my observations at FIDM: It is NOT the slick, shiny "snowsuit" fabric we all believed. Both the vest and jumpsuit have a slight slubby texture. Think of dupioni silk and dial down the relief to almost flat. It's too light to show in photographs. When my jumpsuit fabric was new, the "wrong" side of the stretch cotton gabardine had this texture; the "right" side had a slight sheen. With repeated washing, the texture is showing on the right side, while the wrong side is turning almost fuzzy. So I'm glad I used the right side!
I also decided that the "bright white" of my jumpsuit was just too blinding (the costume frequently "washes out" in photos) and dyed it to get more of the aged, "movie white" effect. You can read about that here. I'd like to eventually dye the vest, but that will require more experimentation first!
Finally--I did finally add belt loops to the sides of my jumpsuit. It makes it a whole lot easier to keep track of the belt! I also re-did the belt with the same thin padding I used in the collar for a more substantial look. I recently wore the entire costume at Star Wars Weekends and will post photos of the dyed costume with new belt as soon as I have them!
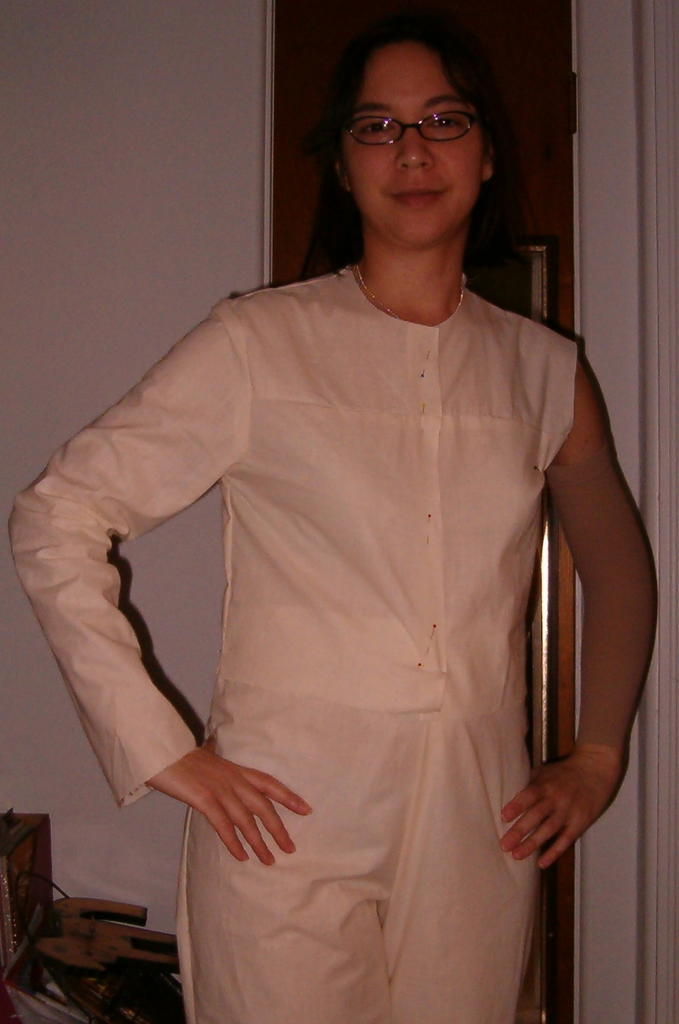
Update: 10/25/05
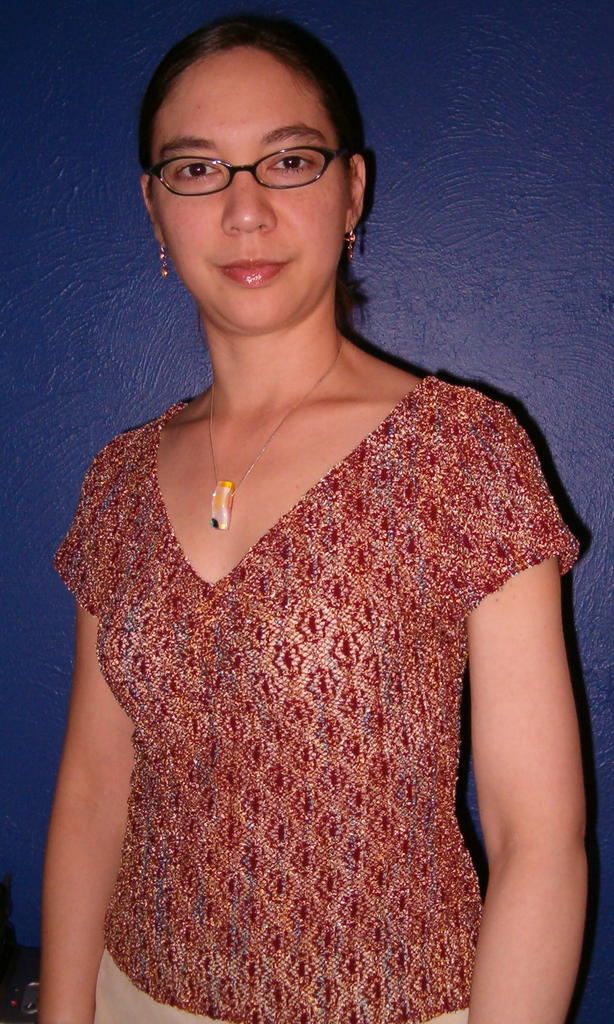
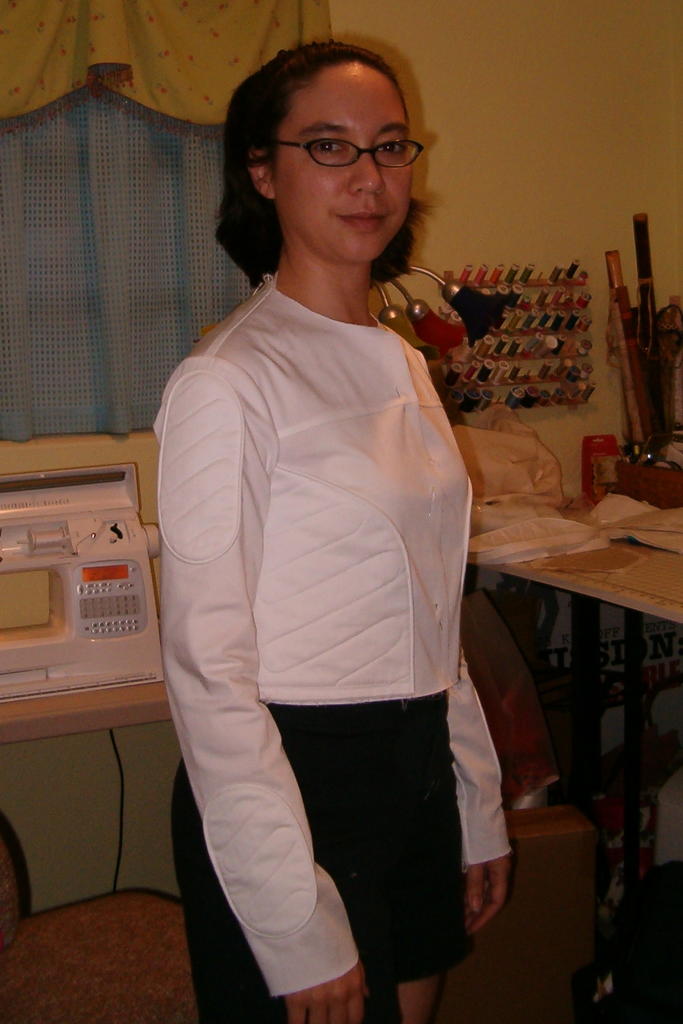
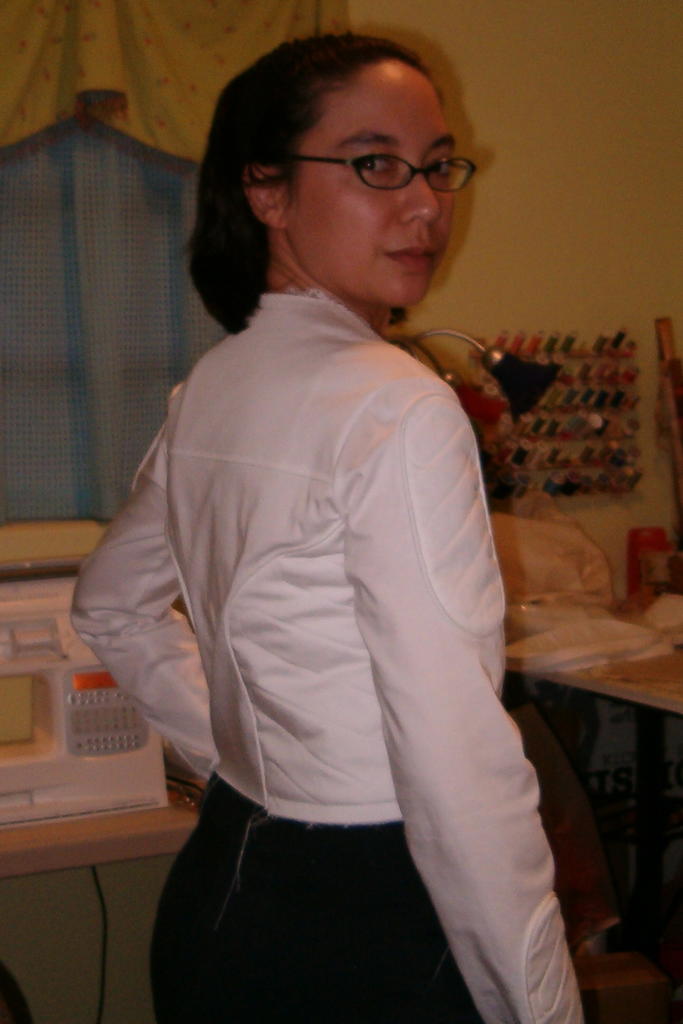
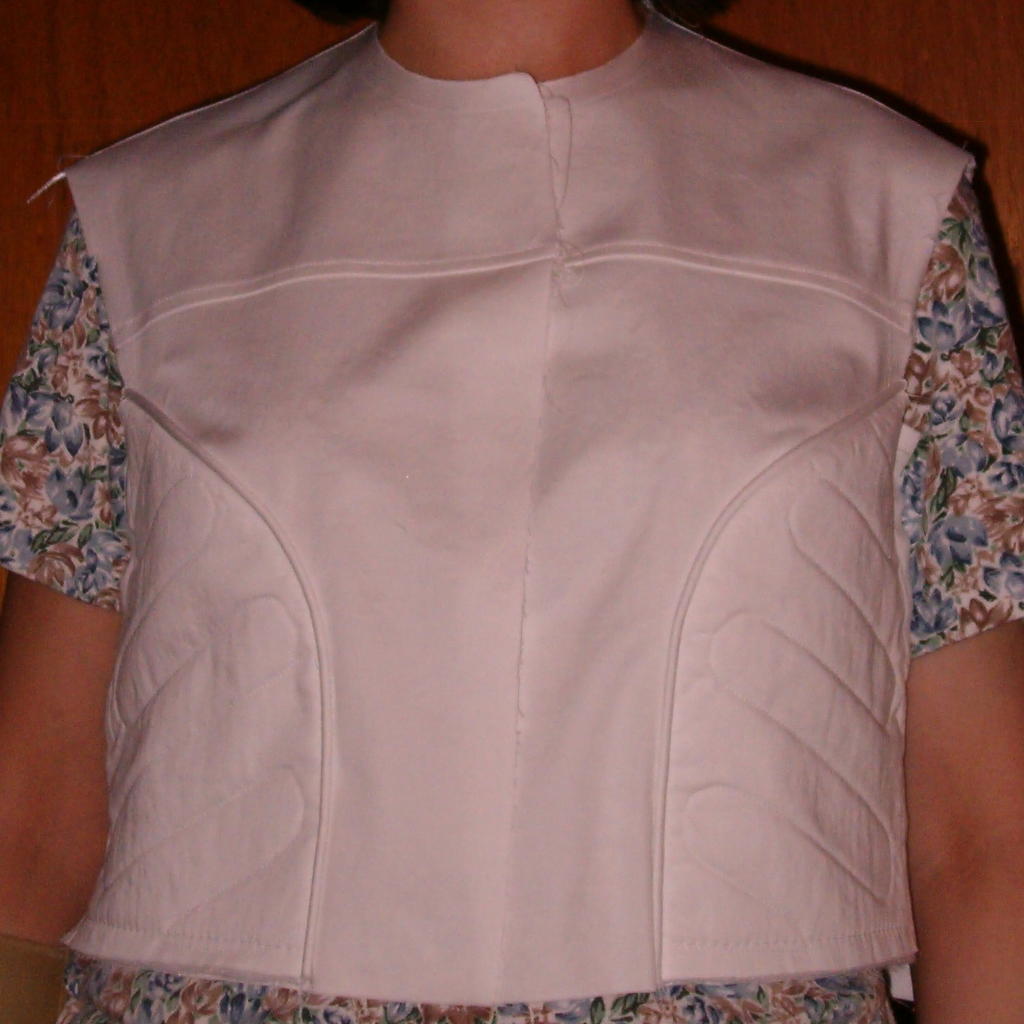
 All it needs now is hems. Oh, and belt loops. What do you think? :)
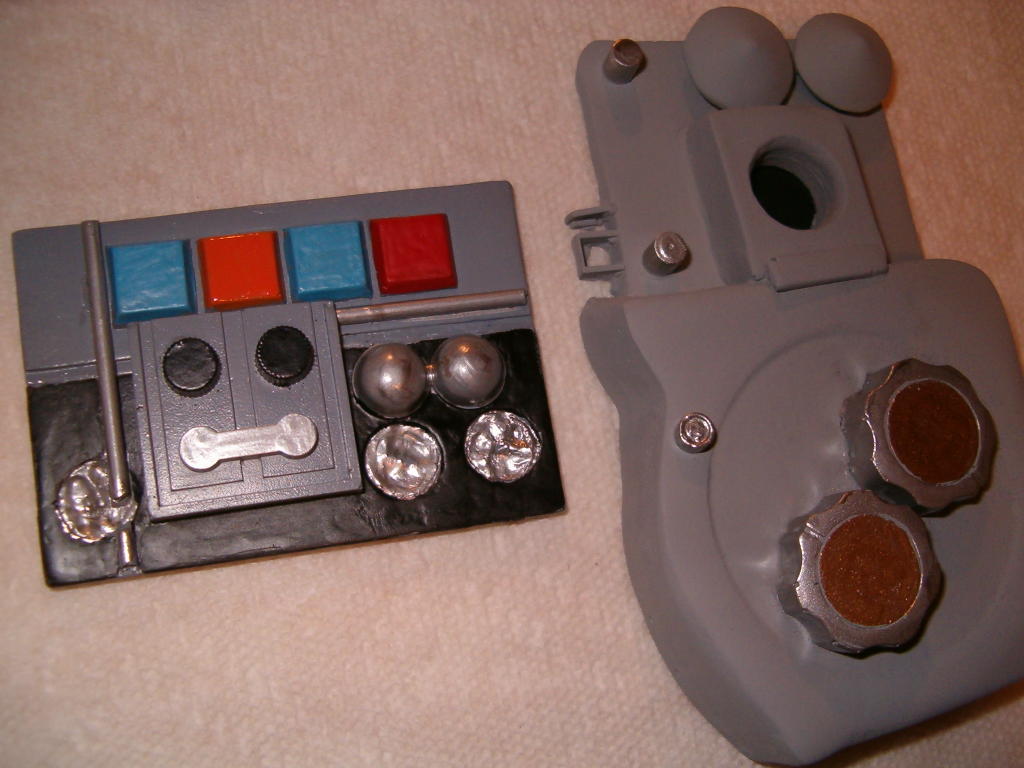
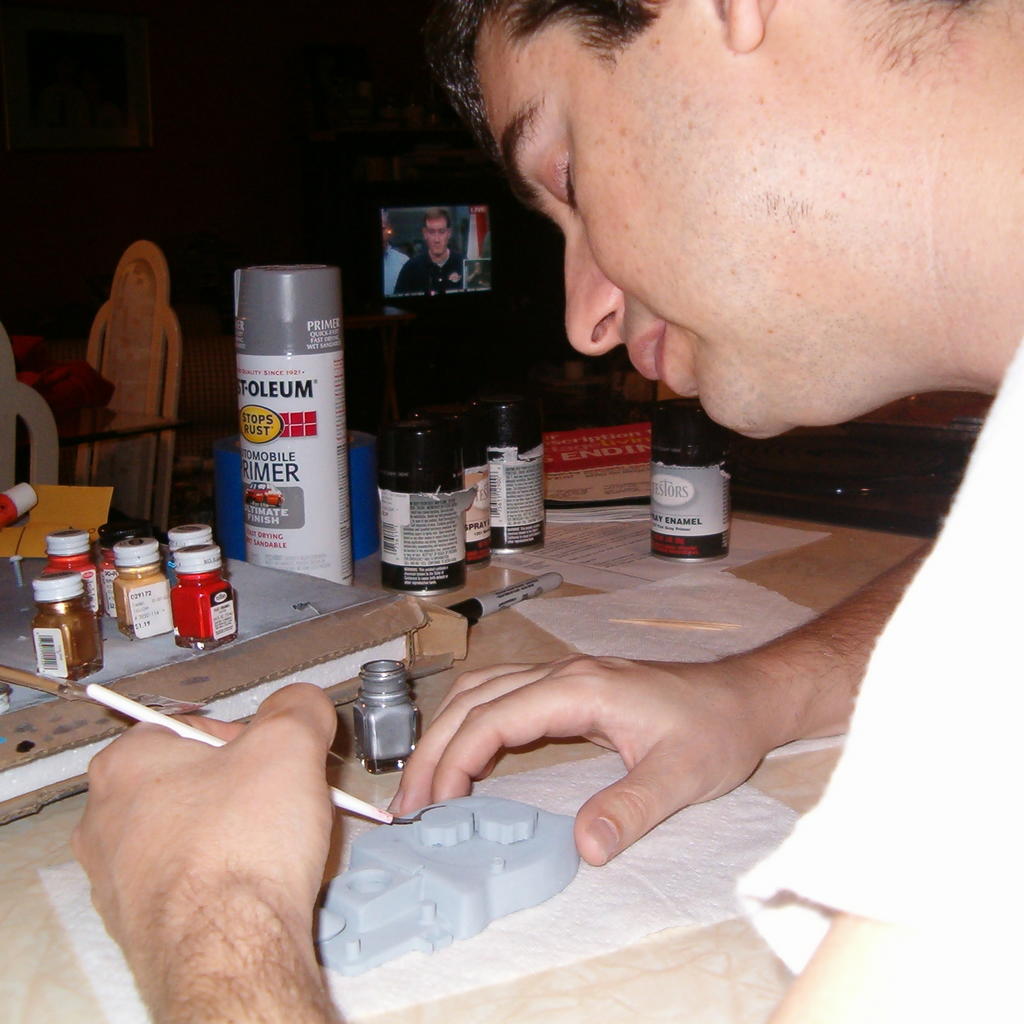
Details, details! It's the smallest things that take the longest. And because progress is not as visible, it doesn't look like I did as much, and my energy flags. So I kept the projects short (and mixed things up by working on Mr. Scott inbetween): the front band Sunday, collar Monday, belt and neck closures today.
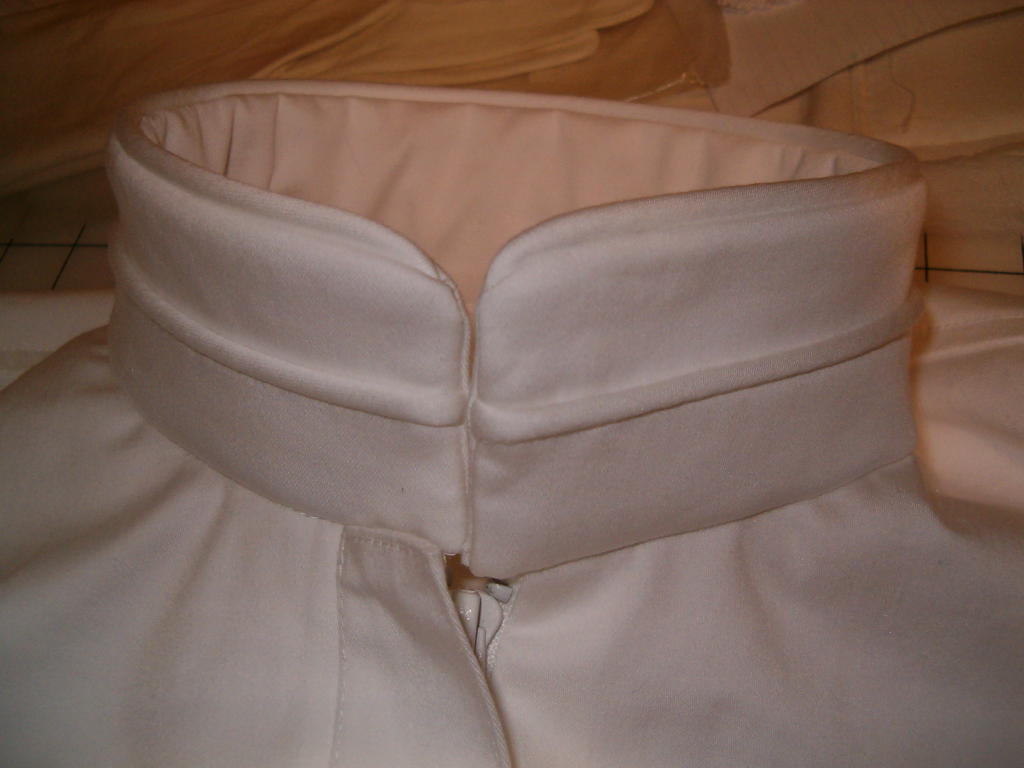
The collar is closed with two white hooks-and-eyes. The front band has one tiny little hook and bar (which doesn't have ends to expose like a regular eye). After searching unsuccessfully for a belt buckle, I decided on Velcro (very cool "snag free" style) and a little snap to hold the loose end in place.
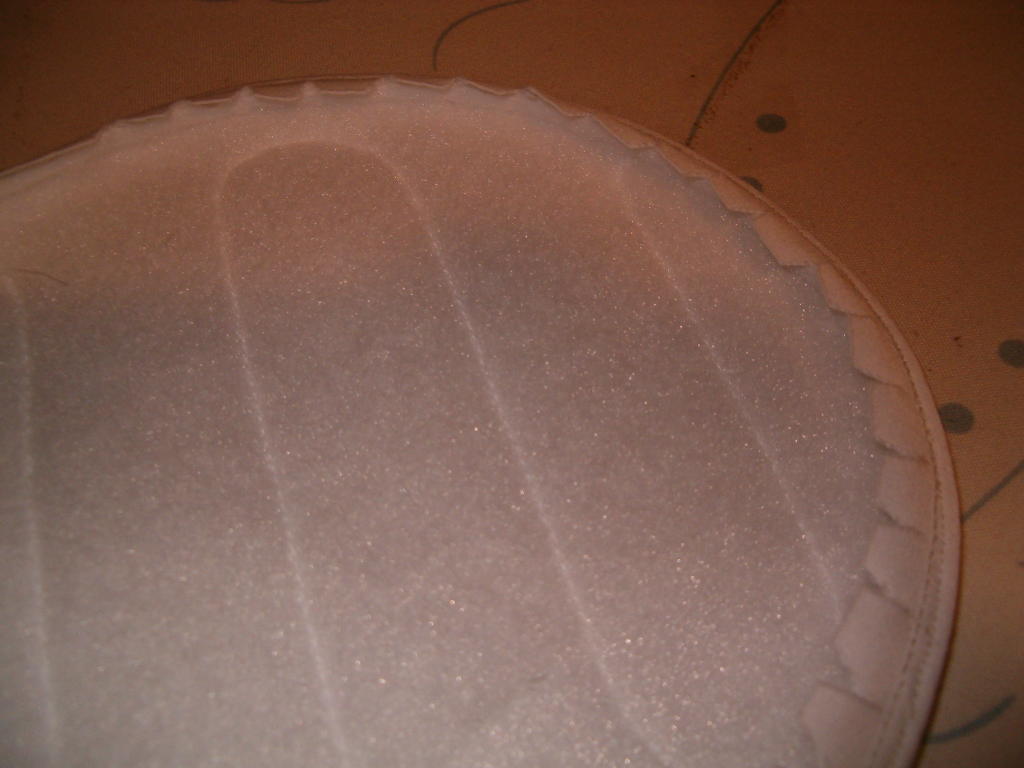
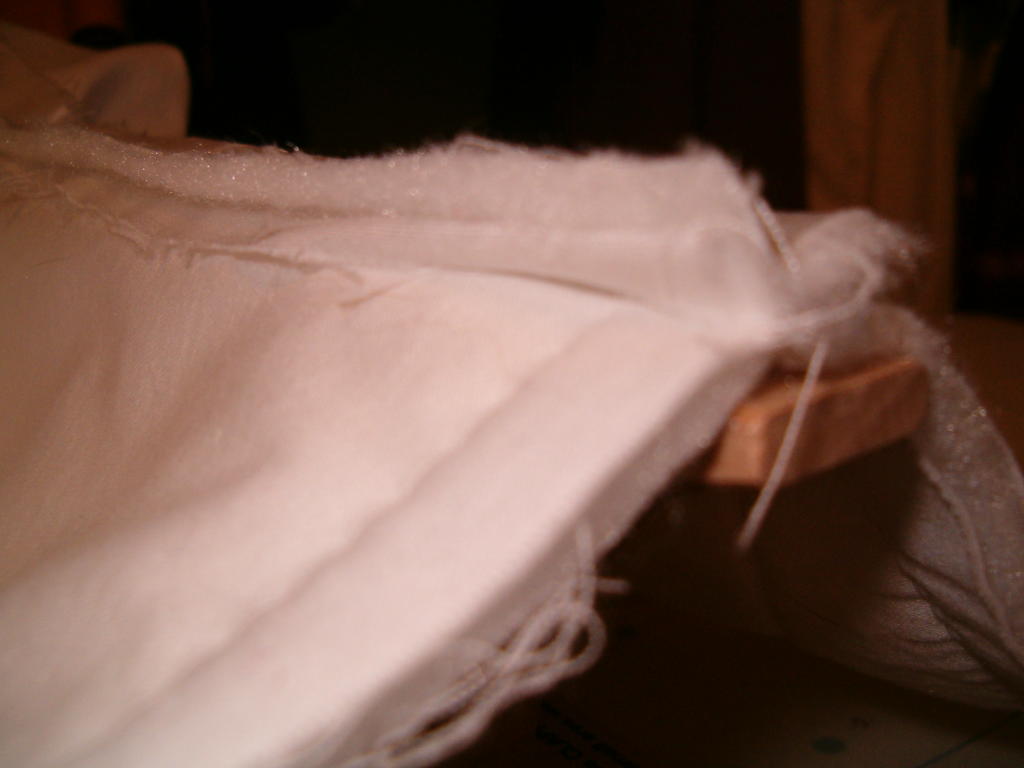
 I got to use my clear-stitch-in-the-ditch foot! After sandwiching piping between the top and bottom halves of the collar, and basting it to a layer of batting, I used the foot to quilt the collar along the piping line. Then after attaching the collar to the suit, I stitched in the ditch from the front side to catch the collar facing along the neckline.
I wasn't sure how the piping on the top of the collar was going to turn out. There's obviously no piping on the front edges of the collar, so I ran the piping off the top edge and sewed the curve right over it. It came out nicer than I expected!
Update: 10/19/05
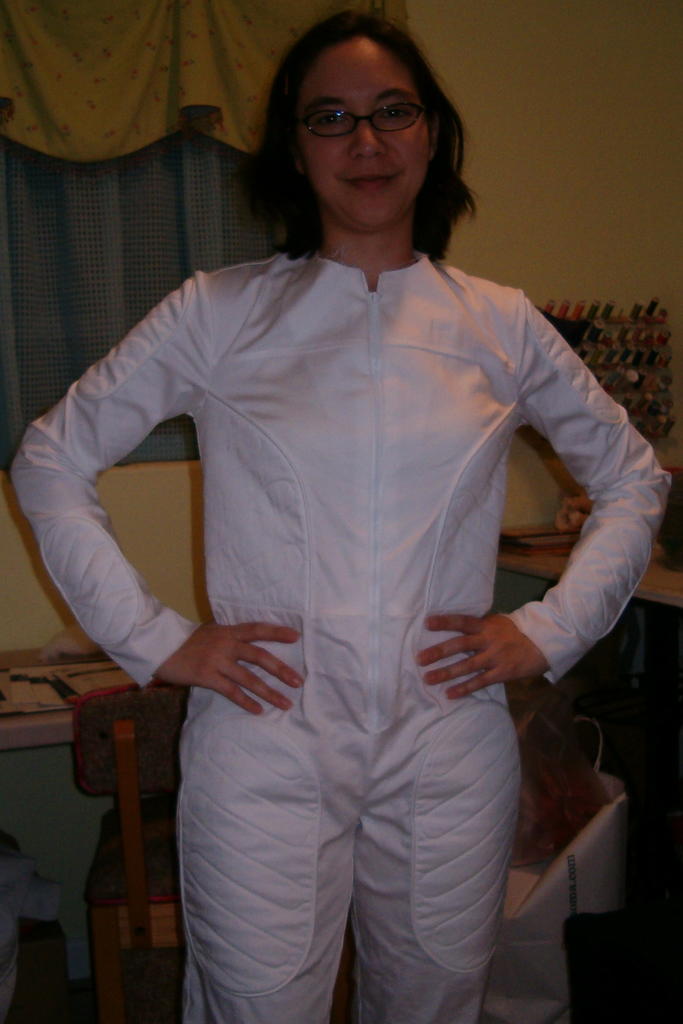 After basting the top and bottom halves together Monday, I remembered about my usual pants waist adjustment. Before I put the waistband on a pair of shorts or pants, I have to pull up the front and cut off the excess (after the first one, Tina advised me that this was likely to be my particular adjustment for future pairs!). The jumpsuit sagged and bagged below the waistline, so obviously it applied here, too. Left, the jumpsuit after the adjustment and zipper insertion (which I learned to do with facings, below). Now it just needs the center front band, collar, belt and hems.
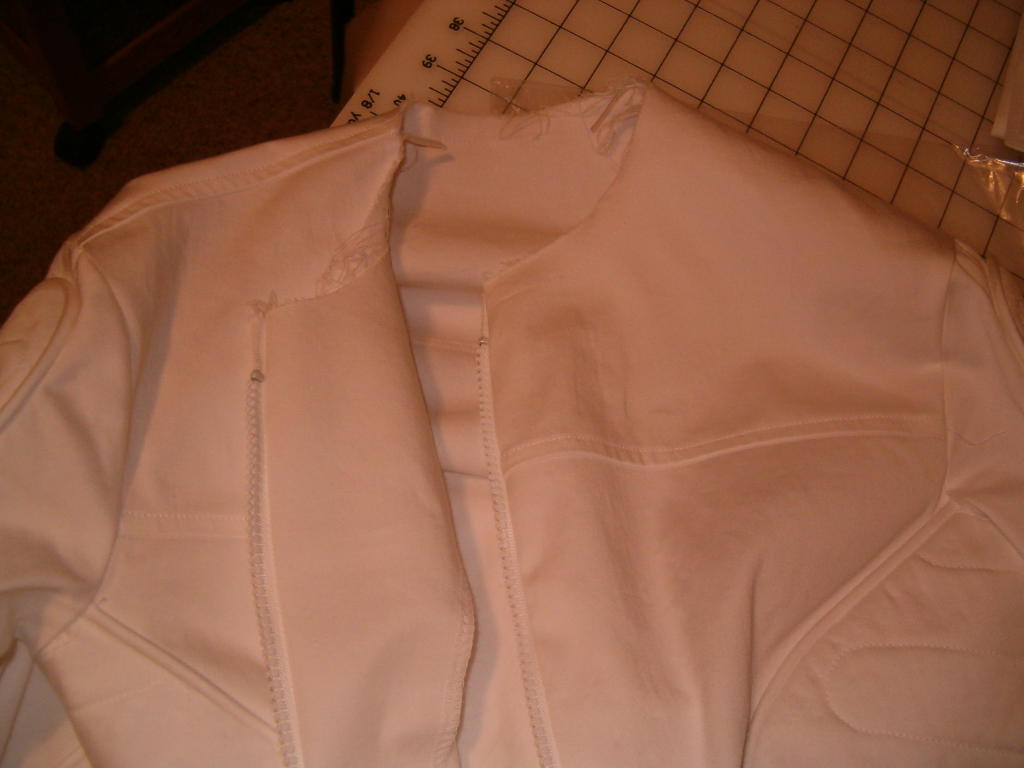
Update: 10/16/05
Made good progress today:
You know, this would make a really cute jacket!
I also put the patches on the legs and got them half-assembled (two more seams and they're ready to attach to the top half). After the intricacies of the bodice, I laughed my way through the long, straight leg seams! Everything is going just about as smoothly as I could hope.
I'm doing quite a lot of trimming in the seam allowances before serging the seams/attaching patches; the batting looks thin, but creates a lot of bulk!
After testing out my new clear stitch-in-the-ditch foot, I went back to the piping foot to attach the patches. The stitch-in-the-ditch is fabulous in straight lines and gentle curves, but all the patch curves were too tight. As it was, I had to "scooch" the lofty part of the patch out of the ditch just ahead of the needle as I went.
Update: 10/14/05
Major construction. This is where the fun begins (Anakin Skywalker, Revenge of the Sith).
 I'm about a day and a half behind my ideal schedule, but making good progress. The day and a half was spent working on the library with Scott (who took the time off work) instead, and it's almost done! I'm going to crash soon, so photos now, details later.
Left, the bodice, patched and topstitched (side seams will stay open until the sleeve is attached).
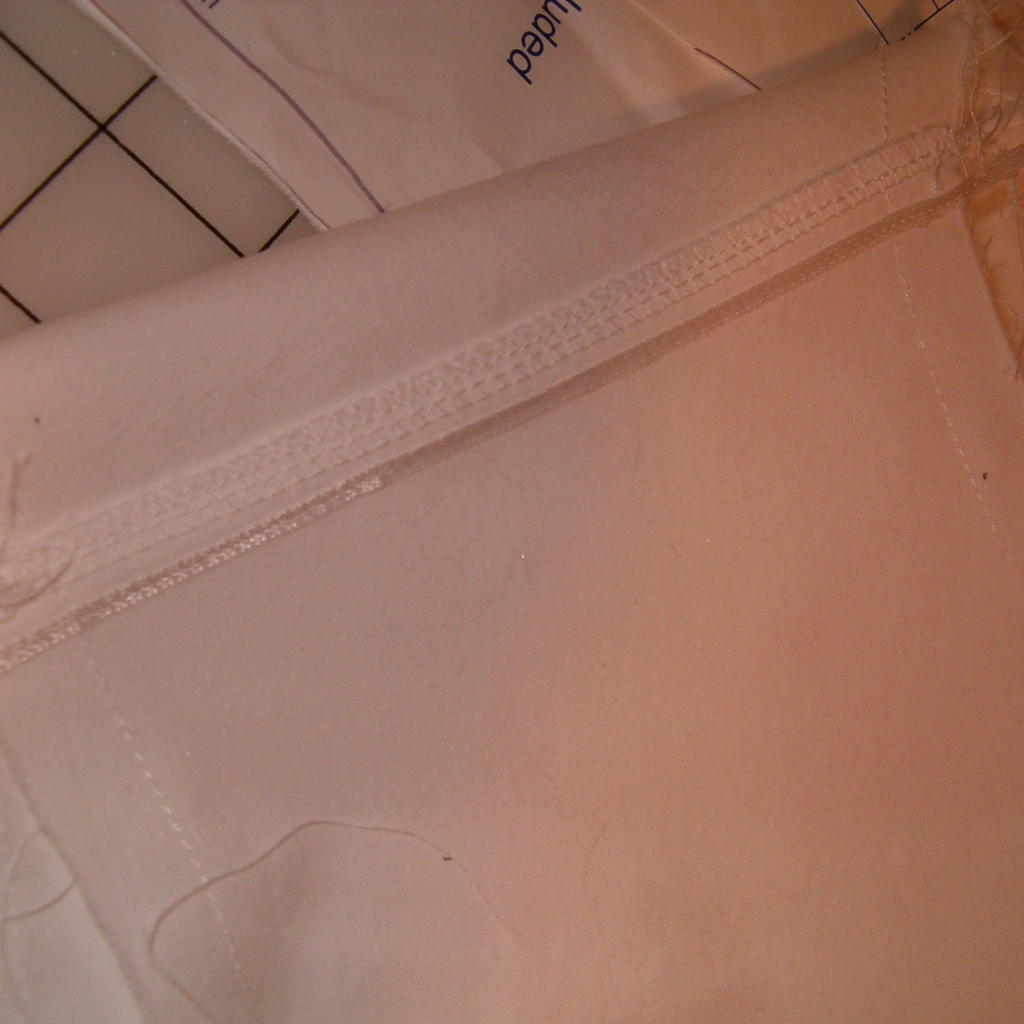
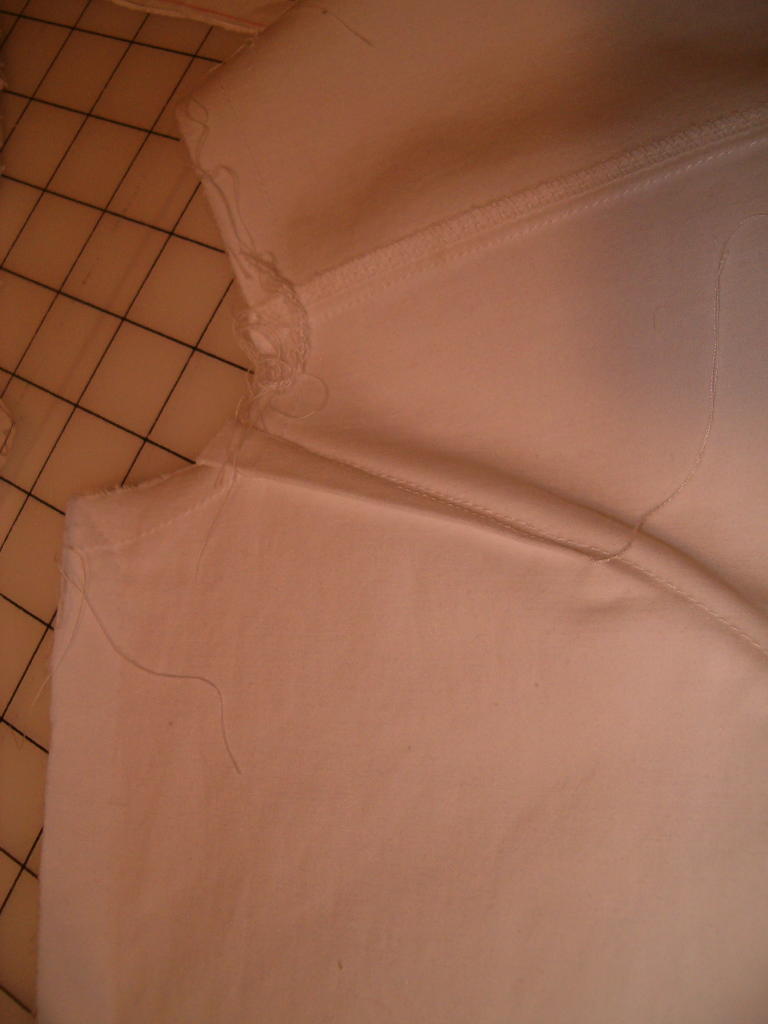
Below left, inserting ribbon into the shoulder seam. Below right, the finished seam (serged and topstitched) from the wrong side. There is just enough stretch across the grain that I wanted a little insurance!

Below, bust dart hidden behind quilted patch.
Update: 10/13/05 9:58PM
 Spent the afternoon assembling, quilting, and piping the patches. It all went very smoothly (except for a few skipped stitches) and the new presser feet worked like a dream. The only thing that slowed me down was joining the edges of the piping on the oval patches. Grrrr. I finally settled on seaming the ends of the bias strip together and butting the cord ends together inside. Since the piping didn't shift as I attached it (YAY!!), I could be sure that the length wasn't going to change. It worked.
Another useful tool was the disappearing ink pen Donna hooked me up with. I used it to draw on the quilting lines. The blue ink disappears when you dab (spray, splash, whatever) water on it. I tested it on several scraps, ironing them afterwards, and the marks stay disappeared. Only I must remember NOT to use the "eraser" end of the pen; it turns brown when ironed.
Update: 10/13/05
Didn't get as far as I hoped to yesterday in class, but did accomplish quite a bit. Now that all the issues are solved and pieces are cut, I feel a whole lot better (I was getting anxious!). I'm both relieved and excited now that the next part of the process has begun (the waiting is over!), and am optimistic about the whole thing coming together well.
Yesterday's primary tasks were to cut (including the pieces that didn't go into the muslin, like facings, belt, front band, etc.); alter the front bodice and sleeve (again; I was unhappy with the fit after last week's attempt); and make piping.
Last week's dart-and-sleeve adjustment left the yoke seam pulling down towards the armpit and the sleeve twisting a little to the front. This week I took up the yoke seam and made the bust dart smaller. Next I cut a sleeve from the original pattern and sewed up the long seam, then pulled it on over my arm. Once we matched the side seam, shoulder and notches, we pinched the same amount that came out of the yoke seam and dart out of the sleeve cap, in the same places. This resulted in a new, shorter front half of the sleeve cap (I'll post pictures later). We had to have two gos at redrawing the sleeve seam, first changing the front to match the back, then vice versa. Once we had a sleeve that worked (the new cap went into the new armhole BEAUTIFULLY!), we puzzled out where the grainline wound up! We decided it lay along the line coming from the shoulder; although that is technically no longer the "middle" of the sleeve when it's laid out flat on the table, it is the middle when it's on my body. I cut it out of the gabardine that way, but held back enough fabric to cut two new sleeves if it doesn't work out.
Update: 10/05/2005
FINALLY made some decisions and ordered fabric this past weekend! Since I'm now waiting on it to arrive, I'm tweaking and basically getting everything ready so that I won't have to think or make decisions when the fabric is here. My intention is to speed-sew it together without any surprises!
Made templates for the quilted patches:
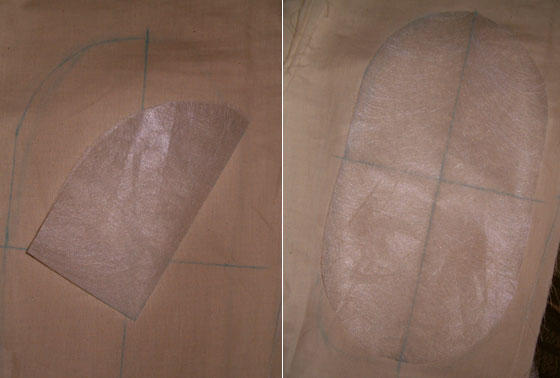
From Tina's mark-up, I found the vertical and horizontal centers and fine-tuned just one quarter of the patch. Then I did the old paper doll thing, folding my pattern paper in quarters and cutting once to get the whole patch. Later I drew in all the quilting lines (really streamlining this thing so construction will go quick!), by drawing parallel lines and joining every other one at opposite ends for the "S" look. I got really picky on the body patches and spent way too much time on those.
In class today, we added a bust dart to get rid of extra fabric wrinkling near the armhole, placing it so the quilted patch will hide it. The trickier part was adjusting the sleeve to fit into the new, smaller armhole. Fortunately the first attempt--removing half the amount of the bust dart from each side of the sleeve--was successful (well, after we re-drew the sleeve seam so it wouldn't be too tight around my arm!).
Update: 9/16/2005
Okay, so I decided it might be more useful to keep an entire costume thread together, so I (and you, dear reader) don't have to go searching through the all the posts for the different parts. Hoth Leia will have three threads: jumpsuit, vest and boots.
I got quite a lot done in class this week. Completed the fitting process, including attaching both halves of the jumpsuit and trying the whole thing on with a presscloth tied around my waist for a belt (we were trying to decide whether to allow the pants waist to gather or put in darts; we let it gather). The extra-small size turned out to be just about right for the semi-fitted look, so I decided to skip the princess seams. The pants I had to let out at the hips and legs, gradually opening to the medium size. Tina chalked on the patches, which I'll work on making symmetrical this week while mocking up the details. She liked the cotton stretch gabardine, too (next to a pack cloth that I don't think came in white); but I'm putting off ordering because I found out my book is on the way! Maybe I'll get some new insight; I've already learned some things from new exhibit photos.
9/11/2005
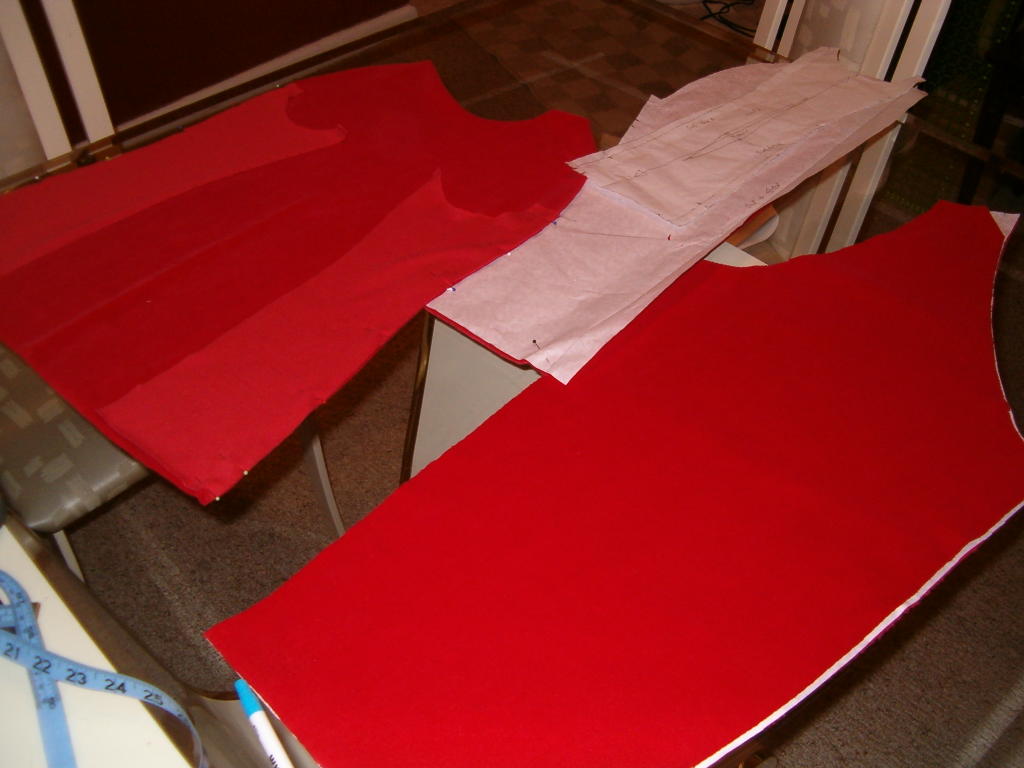
Made some progress on Hoth Leia tonight. I'm working with Kwik Sew #2624, which I selected over Green Pepper #141 because the latter had SO much ease, it was impossible to take in, even in the smallest size. After basting a muslin together in class last week, I decided to cut it down another size. That's what I got done tonight.
 Since the pattern is designed to gather at the waist and blouse out, and the costume is more fitted, I'll be pinching out princess seams (which correspond to the quilted patches and piping) on the top and taking in the pants (mainly in the back, where Kwik Sew left a lot of room to gather). I'll save this for class on Wednesday, where Tina can fit it directly on me, and also mark the patch placement. My plan is to have the complete mock-up done by the following week, when hopefully my fabric order will have arrived and I can start on the real thing.
My Denver Fabrics swatches arrived yesterday, and I'm pretty pleased with them. There are 2-3 good options for this jumpsuit, particularly a cotton stretch gabardine that is opaque enough (I'm not insulating or lining the jumpsuit since I live in FLORIDA) and has a slight sheen on one side, like outerwear fabric. I also liked the supplex and ultrex swatches from The Rain Shed and Seattle Fabrics, but one wasn't opaque enough and the other didn't come in white. (Lavagrrrl over at the Rebel Legion likes the DWR supplex--but she lives in Michigan and can do the full-on snowsuit thing!) Besides, I don't really need it to stand up to the elements; just be comfortable while evoking the right "look". And, I can always make it again in another fabric if I choose!
Also in the swatch set, a soft, espresso brown sueded silk and some wool and wool/flannel blends that would be great if I ever got around to re-doing my prequel Jedi...
posted by highpowermom @ 1:08 AM
4 comments
![]()
![]()