
Imperial Officer Uniform
Last Update: 3/4/06 - Scroll to the bottom for the most recent notes.
9/19/05
 Okay, so I've been meaning to join the dark side ever since doing Star Wars Weekends with the 501st Legion (I'd already joined the Rebel Legion, but I'm figuring to double the fun!). I picked a pattern and assembled a muslin in July. But then I had all those summer and vacation clothes to make, etc... So, back on track!
The pattern I'm working from is Vogue 7978 (which I picked up on a 75% off sale). I chose it because it was the closest to what I intended to create. It's got long princess seams from shoulder to hem, a front overlap, and an option for a stand-up collar. Also, I wanted to start with a women's jacket pattern instead of a man's costume coat; I figured it would give me a better fit and require less re-sizing. Since the pattern is for an outerwear coat and I'm aiming for more of a suit jacket, I cut a smaller size.
The only alteration I made to the pattern before cutting it was to extend the front panel all the way to the opposite princess seam. Once I had it all together, Tina helped me fit it and mark the "V" shape that the front panel would take. That futzed with the princess seam, so I had to make sure to add to the side panels what we were in effect removing from the front.
At this point I put it away until after convention, then kept procrastinating because I had a nagging feeling that it would have been easier to start with a different pattern. When I eventually got it back out last week, it turned out not to be difficult at all. I pulled the muslin apart and marked the front panel changes on my paper pattern, then tried to figure out what to do with the side panel.
After sliding the pattern pieces around like a puzzle, it finally clicked.
 I marked the side panel at the point where the new angled ("V") line departed from the original princess seam, just below the full bust. I laid the side and front panels next to each other, lining up the notches and waistline. I laid a ruler across the waistline of both pieces, aligning it horizontally along the waistline and vertically along the grainlines of both pieces. Then I slid the pieces together until they touched at the point where I had marked the side panel. From that point down to the hem, the center panel gave me the angled line I needed. The amount of tissue I added was NOT the size or shape I exptected, but when I basted the new pieces together, they fell perfectly around my body.
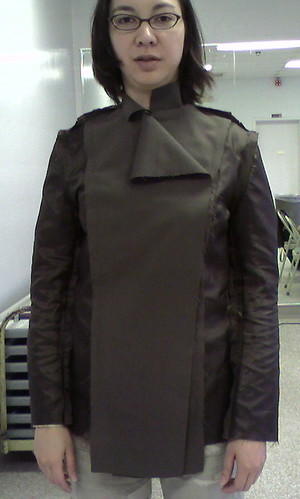
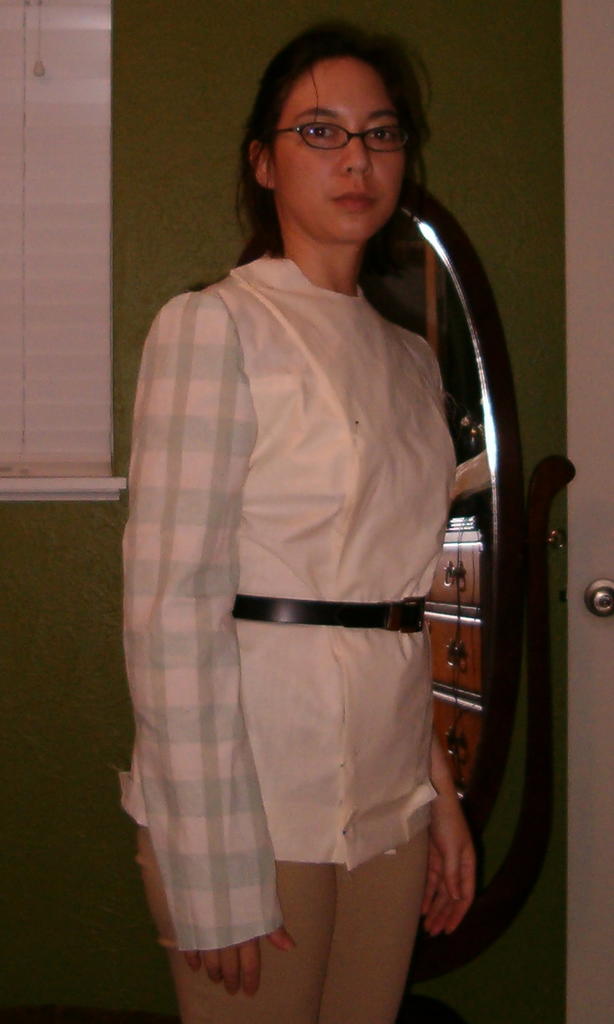 In this photo of the second muslin, I've added the chest pockets (using Kathy's excellent tutorial as a guide, since my jacket construction is different from hers) and re-used the unchanged pieces from my first muslin (the green plaid sheet!). Later I let the hips out a little for ease and decided on a slightly longer (and more flattering) finished length. The whole thing has been transferred to my paper pattern and is waiting for an open slot in my sewing schedule!
Update: 1/25/06
I cut the fabric for the jacket shortly before Christmas, but shelved it again to work on last-minute Christmas gifts. Then came a client project. Last Thursday I finally finished cutting my fabric (I had forgotten the two extra front panels for the facing) and also cut a coordinating lining I found at Sewing Studio. The fabric, by the way, is a 31% wool/67% poly/2% spandex suiting I got at Joann's with my 40% off coupon (it's now on clearance for 75% off!). It's the perfect color and texture, and as a bonus I can wash it, although I'll probably wind up drycleaning to protect the jacket's structure once it's finished.
With only an hour of class time left, I assembled the two side panel/chest pocket sections.
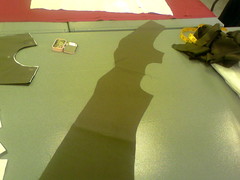
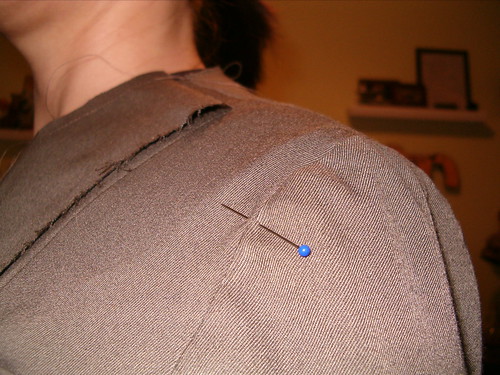
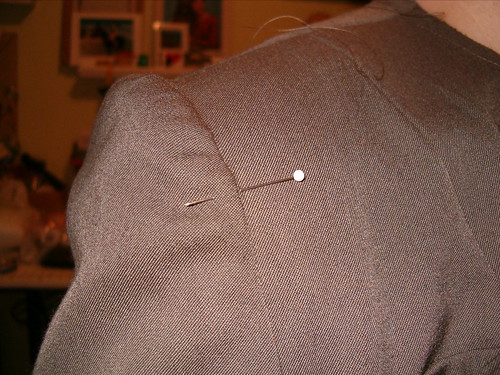
Above, the smaller piece (top) is the shoulder and armhole. The bottom half of the piece is mirrored from the armhole to the seam, and again below the seam, because this will be folded up on itself to create the pocket (below).
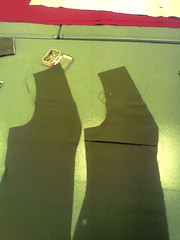
The piece at left is shown from the right side; the seam is the top of the pocket. It is understitched so that the stitching will roll towards the pocket and not be visible from the front. The piece at right is shown from the wrong side; the fold is the bottom of the pocket. There are three layers of fabric in the pocket area due to the folded design. I basted the top of the pocket and around the sides to hold everything in place while I construct the jacket.
I had just enough time to interface my front panels before it was time to pack up. This week I picked up the shoulder pads and plan to assemble the rest of the shell and lining. I'm hoping this will quickly since the whole thing has already been fitted extensively (but I'll check the fit as I go, anyway).
Update: 2/2/06
Last week I put together all the jacket panels, sewed the two-piece sleeves and ease-stitched the sleeve caps. I futzed with the side seams a little to get rid of a "skirt" effect but was otherwise happy with the fit of the shell. Today, however, I decided to take in the back princess seams a little. When I put a belt over the jacket, I didn't like the way the extra fabric gathered. Now it fits closer to the curve of my lower back.
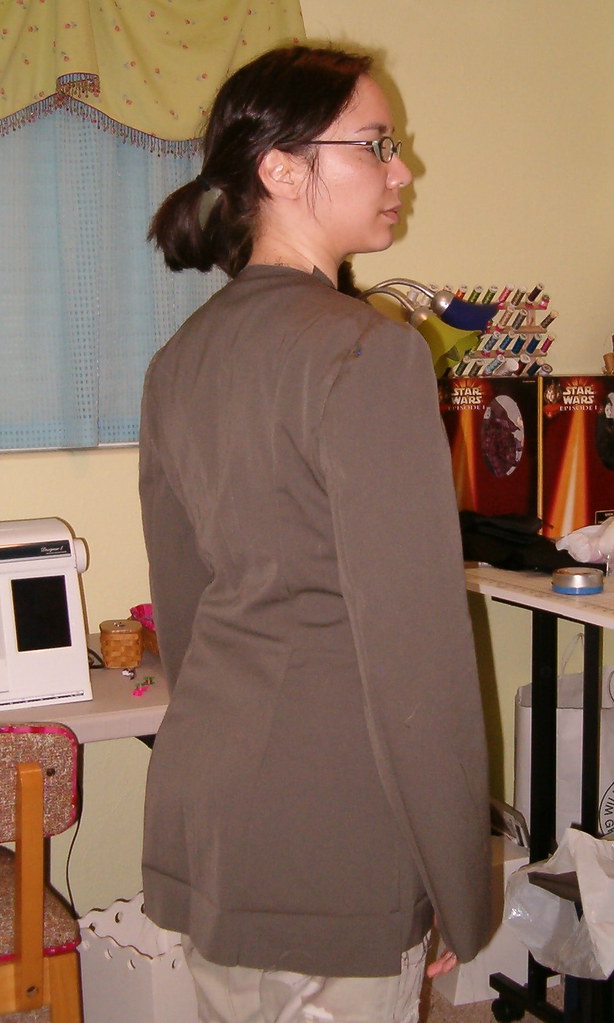
I also set the sleeves in today:
This pattern has a LOT of fabric in the sleeve cap; even with the ease-stitching and a shoulder pad, it looks too full to me. The left sleeve (above left) pressed out okay, but the right insists on "poofing". So I'm going to pull the stitching out between the pins, pull the cap up about a quarter inch and trim it off. Oh, and sew it back down.
Finally, Tina pinned up the hem and I pressed a light crease in so I can find it when I go to attach the front facings. Next task will be to assemble the lining, making all the same changes I made to the shell.
Update: 3/3/06
 Been squeezing work on this between other projects, so not much new. I did fix the sleeve caps and finish constructing both the jacket and the lining/facings (that's a picture of the lining at left). So all that's left is to stitch the two together, hem and finish. I showed up in class yesterday with every intention of finishing the jacket once and for all... only I'd left the jacket and lining on the cutting table back in my studio at home! Ah well. Fortunately I'd tossed some junk fabric in the car in case I had time to work on something else, so I spent the day mocking-up the jodhpurs instead. I'm using Suitability 2056, unmodified except for fitting. Oh, and leaving out the knee patch, which doesn't change the main construction at all.
I probably ought to start hunting up greeblies, code cylinders, rank insignia and belt materials, so I can have all the costume pieces together by the time I finish the hat!
Update 3/4/06
Found a source for the greeblies, courtesy of the FL501st forum. May also have a source for the rank badge.
Spent a mostly pleasant afternoon putting the jacket together. Note: There is no such thing as simply stitching the jacket and lining together. I always forget about the pressing, the trimming, the notching, the turning, the pressing again... at least there's no topstitching on this one (although I'm tempted, it would look really sharp--just not "cannon"). I'm kind of peeved with Vogue at the moment; I've got a half-an-inch of exposed raw edge on each facing, and I followed the directions and drawings exactly. So I pressed up the hems on the jacket and lining and left them open until I decide how to finish the facings. Everything else is done, except for closures (I'll add snaps to hold the front panels in place, and probably a hook and eye inside the collar).
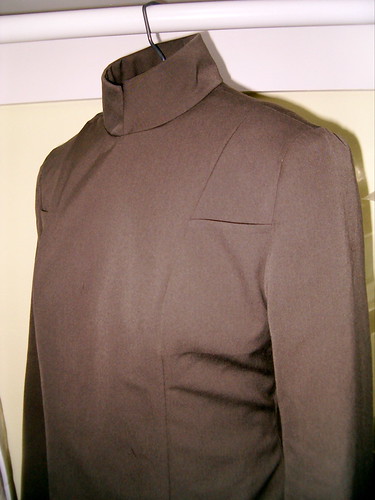
The finished jacket looks a lot trimmer than I expected; glad I left plenty of ease! Below, a blurry photo on me (I think the navy blue shorts really make the outfit) and a clearer one on my dress form, Xena.

posted by highpowermom @ 6:12 PM
![]()
![]()
0 Comments:
Post a Comment
<< Home