Hoth Leia: Boots
Update: 6/12/06
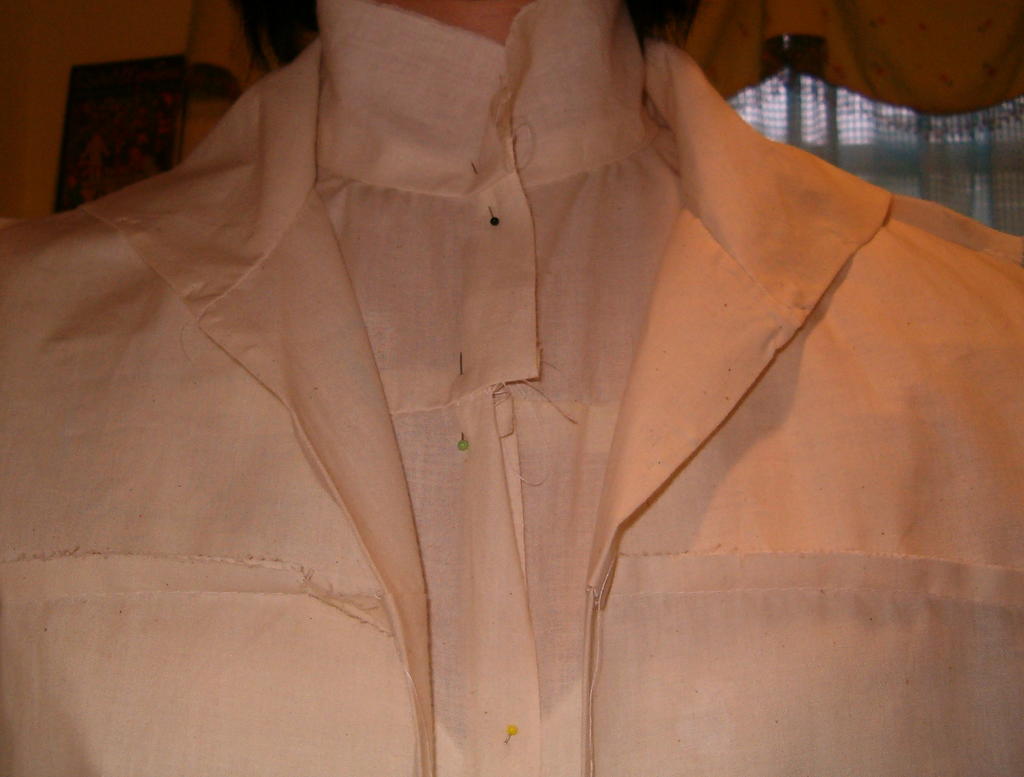
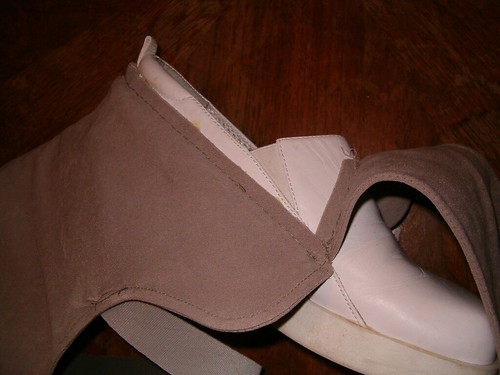
Quick note from my observations at FIDM: The "tongue" of the boot is attached UNDER the top of the shoe. Look closely and you'll see the topstitching where the smooth leather part of the shoe forms an upside-down "V". This perplexed me in all the blurry reference photos, until I saw the real shoe and realized the smooth leather is on top of the suede. I had already attached mine "right sides together" like in regular sewing; the stitching doesn't show, and it was too thick to attempt topstitching after. A better way to do this would have been to actually cut the top of the shoe into the "V" shape, fit my "tongue" under it and stitch through both layers, resulting in the visible stitching. This would also have resulted in less bulk and automatically hidden the corners corners where the tongue attached. Click the image below to link to a larger version.
Update: 11/28/05
Well, the pieces sat on my dining room table for a week because I couldn't decide how/when to attach the straps, before or after the lining. I finally settled on catching the ends in the center back seam, but topstitching them down after the lining. My plan was to stitch through all the layers (strap, boot, lining), but I wound up being able to slip the boot onto the free arm on my machine so that the stitching on the four lower straps would be hidden.
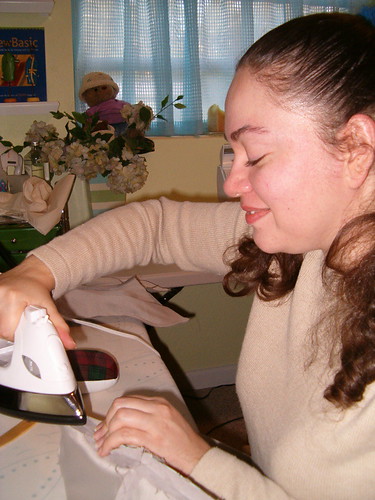 Then I procrastinated a little more, until I realized that if Scott was going to help me attach the boot leg to the shoe base, it had to be done before he left town again! So... on Saturday I basted the straps in place; sewed up the boot and lining pieces; attached the lining, turned and topstitched all the edges; and topstitched the vinyl and velcro straps in place. My friend Jessie (pictured at left) came by and I put her to work as my pinning and pressing assistant; she did a beautiful job on the seams and saved me at least an hour or two of tedious and repetitive tasks! By midnight Saturday the pieces were ready to attach to the shoe.
Sunday after church I ran up to the shoe repair shop to see if there was a quick and/or easy way to marry the boot leg and shoe. There was--they have a special stand-up sewing machine with a spindly free arm the width of my thumb, I stood staring and wishing they would just let me use it for half an hour! However, turnaround time was over a week, and I'm leaving for L.A. on Friday. Mark at the shop was extremely helpful and advised me to use Barge cement to glue the pieces to the shoes, and a regular size sewing needle and needle-nose pliers to hand-stitch them in place. He also offered to sew them on if I did the preparatory work of measuring, marking and gluing the pieces where I wanted them (this was the time-consuming part of the job he didn't have time for). I liked this plan and conferred with Scott, but he felt that without a way to clamp the pieces while the glue dried, they might not stay where I wanted them! So after a trial run (attaching one tongue piece), we decided to hand-stitch everything, then secure it with the Barge glue.
 I drew placement lines on the shoes (Nursemates won on eBay for $9.25) and put a line of basting around the bottom of each piece, so we had lines to match up. I also pressed the seam allowances up, creasing the canvas as hard as possible with a steam iron and clapper on a wood cutting board. I figured it was a lot easier than trying to get a nice turn after they were already attached to the shoe! We sewed right sides together, with the boot pieces upside down, and flipped them up into place (along the creases) afterwards.
After an hour or so we settled into a nice rhythm: I pushed the needle through the fabric, boot and shoe with a thimble on my thumb; Scott nabbed it on the other side with the pliers and pulled it through. Meanwhile I flipped the thimble to my middle finger, so I could push the needle back through from the inside. Since we were working sort of "blind", I poked until the needle tip came out along the placement line I had drawn on the shoe, then lined up the basting line on the boot over the needle tip and pushed it through. Scott grabbed it with the pliers and pulled it to the outside, and we began the next stitch. We worked with short lengths of thread to avoid tangles, and changed needles almost as often as thread because they kept bending!

 When the stitching was done, we trimmed the seam allowances and then applied the Barge to seal and hold everything flat. Scott put binder clips on the boot ankles to hold them in as close as possible while the glue cured. And no, my stitches weren't that even! That's the line of machine basting you're seeing.
By the way, we started around 5PM and finished around 11:30PM, with two breaks for dinner and packing Scott's suitcase. Scott's my Hero; the next morning he was up at 4:30AM to catch a plane!
I may yet take them to Mark and have them stitched for extra security, but I think we did a really nice job. The only thing left is to try them on, cut the straps to the right length, and sew on the hook side of the velcro.
Update: 11/19/05
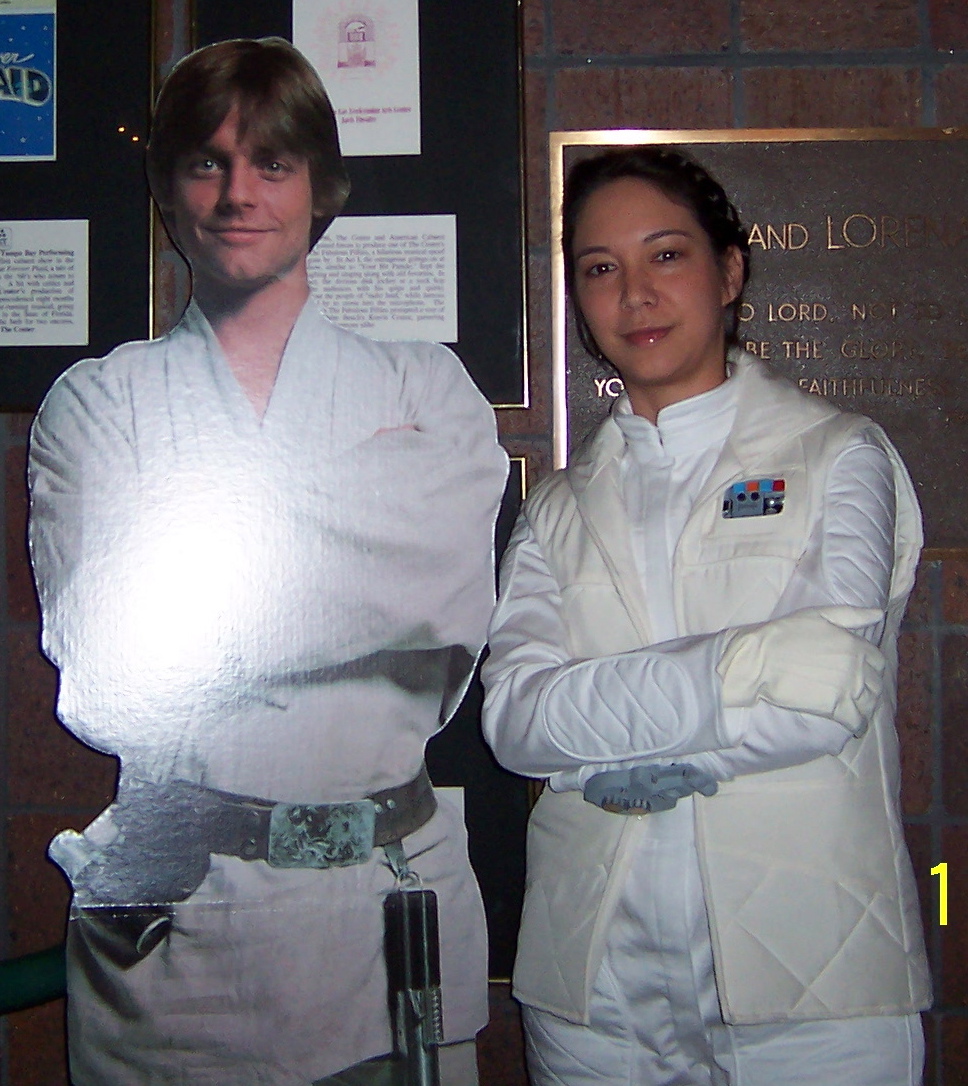
Well, even though my Adidas boots have performed wonderfully at four events already, I have a new motivation to make the replica boots: I'm going to the FIDM exhibit fan day! And there's going to be a costume contest; wish me luck!
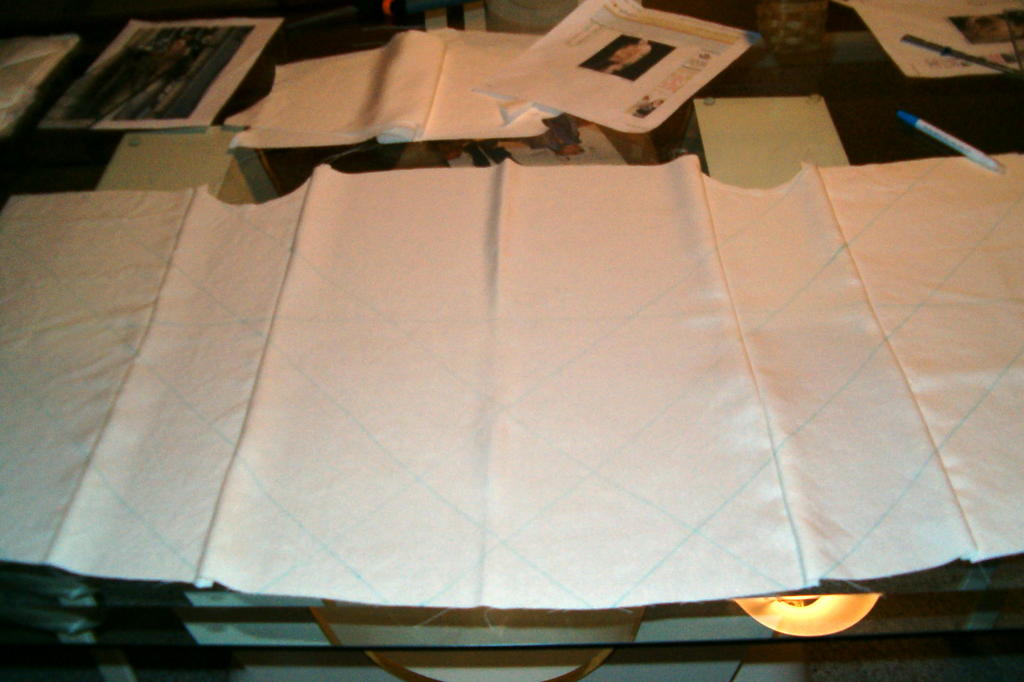
I started by taping pieces of my "pattern paper" (actually a roll of soil separator from Home Depot) to the Adidas boot and tracing the general shape of what would become the two side panels. After pinning them to a nursemate shoe, trying it on and marking changes, I transferred the pattern to a sheet of outdoor canvas (the canvas will interline the fabric pieces to help stiffen them up). I also created the "tongue" piece at this time.
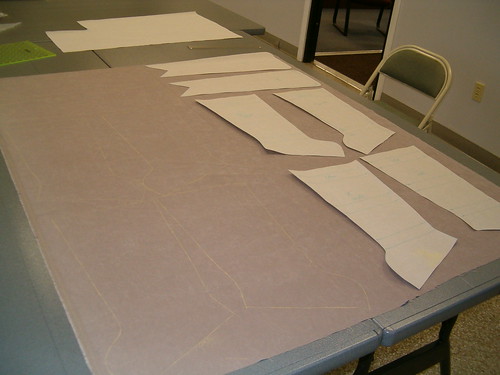 After cutting all the canvas pieces out, I pinned them to the nursemate, tried it on and had Tina mark up the finished height and strap placement, as well as adjusting the center front lines. Then I duplicated all the pieces for the second boot, traced them all onto my fabric--a yard and a half of taupe-grey moleskin (can't believe how hard it was to find anything resembling grey faux suede!)--and cut. The one-and-a-quarter inch straps I cut out of a marine vinyl, a bit heavy but the best substitute I could find.
I thought the yellow chalk outlines made my cutting area look like a crime scene. :)
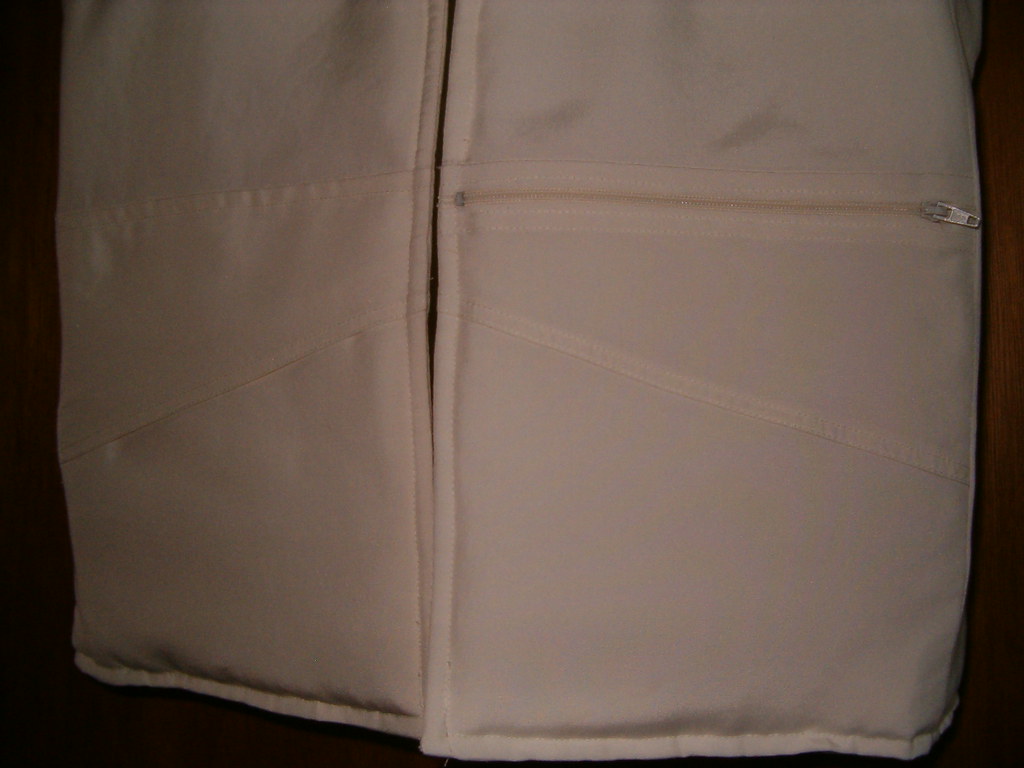
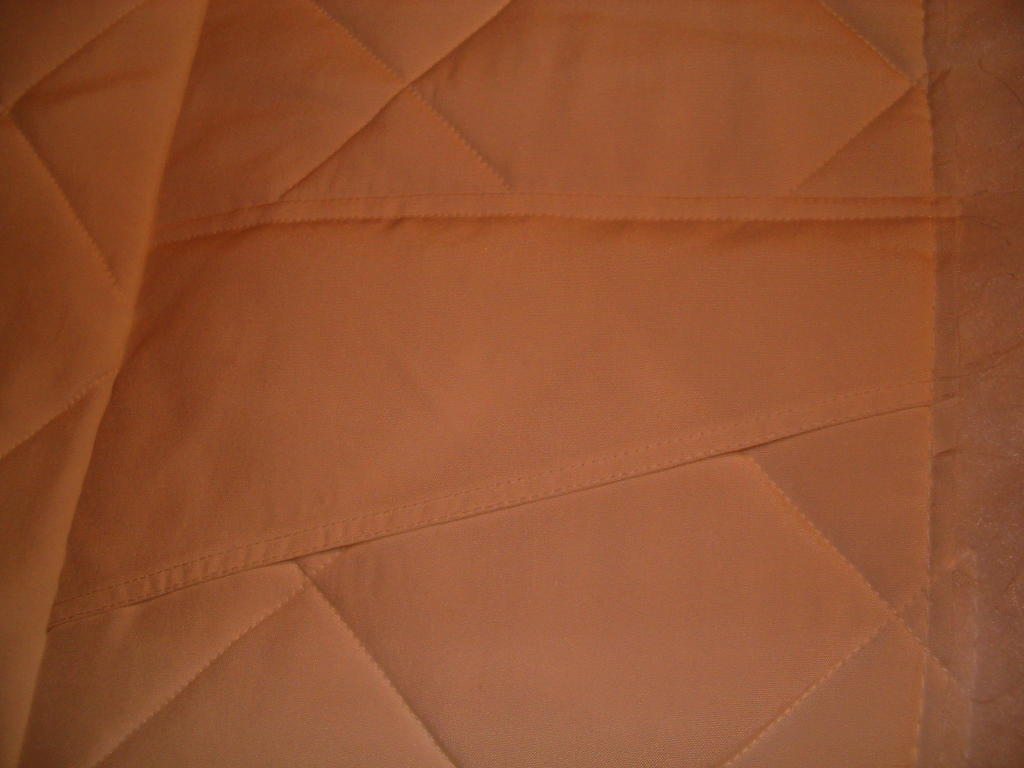
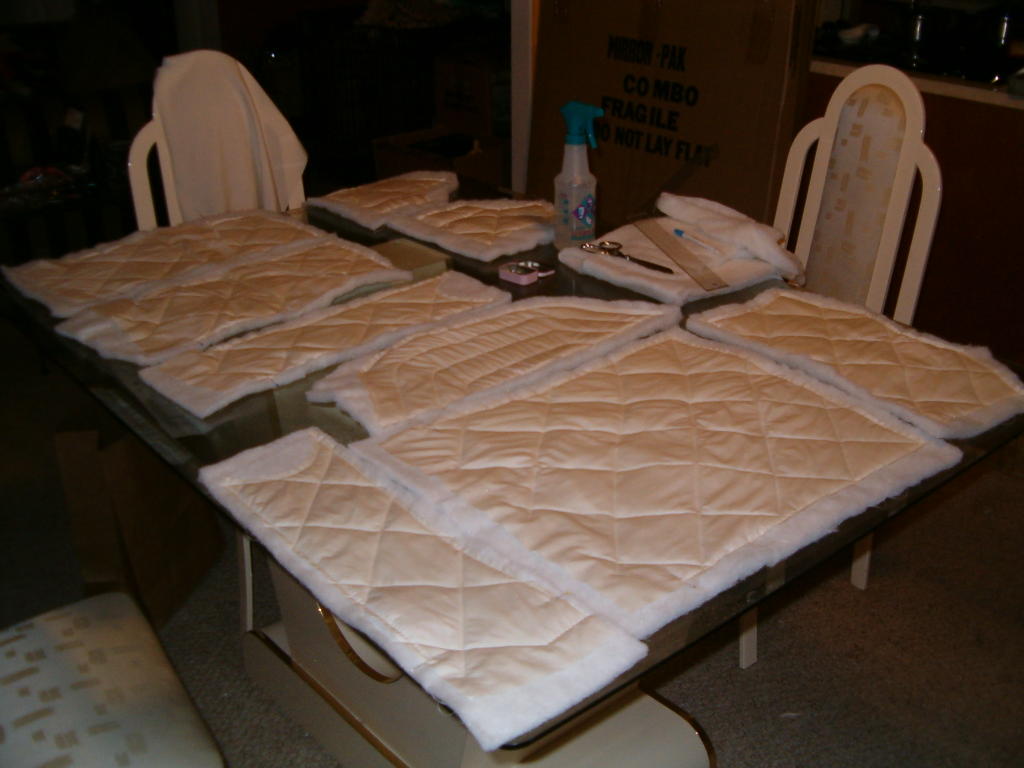
I want to adhere the outer layer of moleskin to the canvas, so that it doesn't give me a sagging look later. We tested Scott's upholstery spray (contact cement); quilt basting spray; and Steam-a-Seam 2, which comes in sheets. I like the Steam-a-Seam best; even though it requires a little more effort, I'm most familiar with its properties and I think it will give me reliable results. Plus I know I can sew through it.
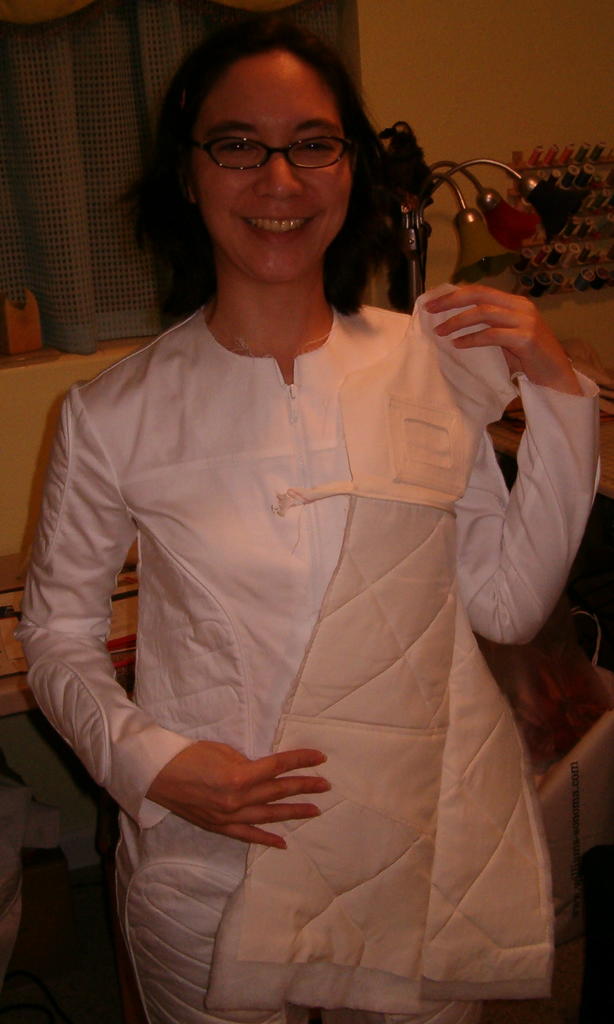
 Just for fun I pinned/clipped all the canvas and straps together and tried it on. I'm going to move the lowest strap down a little to make the fastening more secure; the finished boot isn't going to be very stiff so the only thing holding it up is going to be the fact that it's strapped to my leg.
10/7/2005
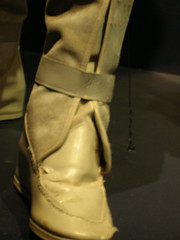
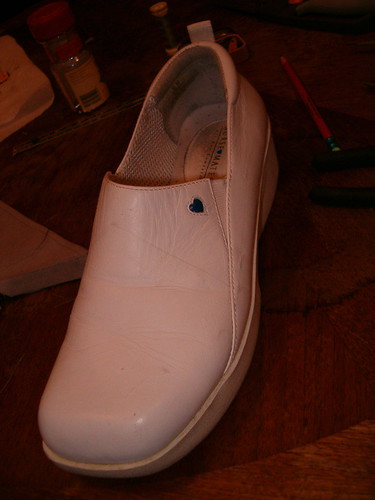
Picked up a great pair of suede boots last night! They're cute enough that I wanted them for my regular wardrobe, but inexpensive enough that they can double as costume boots until I make up my Hoth Leia replicas; and despite the faux sherpa lining, they're not too warm for Central Florida. It was Scott's practical opinion that finally decided me on buying them. Just pay no attention to the pink Adidas logo and striping!

8/9/2005
Woo-hoo! Won my auction for a pair of shoes that will eventually form the basis of boots for my newest costume project, Hoth Leia. For $9.25, I can experiment to my heart's content without any guilt.
I've wanted to do a Leia costume for a while, but there aren't many to choose from (she spends entire episodes in one costume), and I've never been interested in the classic white-dress-and-buns, which seems to be the costume most everyone attempts. I've always tended towards action, and costumes I'll be able to move around in somewhat comfortably!
I've got a lot of projects on the table but hope to get a jump on this before Halloween. I think I've found patterns I can alter; around here, the hard part always seems to be finding suitable fabric! It's always the wrong season to find what I need...
posted by highpowermom @ 10:08 PM
0 comments
![]()
![]()