
Not your daddy's tweed
We finished the sewing chair, woo-hoo!
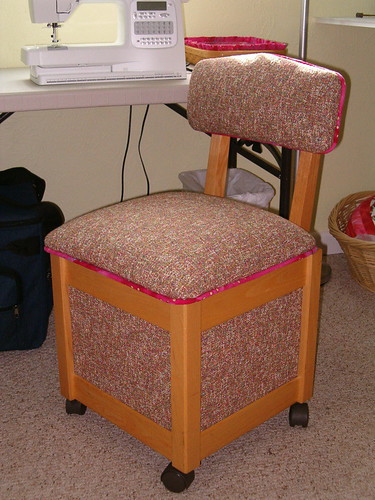
My friend Mimi found the fabric at a 75%-off sale at Boca Bargoons. From a distance, it read like a tan tweed; but when I took a closer look I saw it had all the bright colors of my sewing room in it, including lime green and hot pink. Definitely not your daddy's tweed! The piping is made from the same pink polka-dot batik as the basket liners (one of which is visible on the table above the chair).
I had never reupholstered anything before, so I was a little intimidated at first. But it turned out to be pretty simple and I had a lot of fun (except for getting sore fingers pulling out the old staples--easily the most time consuming part of the project!). A staple gun powered by an air compressor and a cordless drill (with screwdriver bits) certainly moved us along with a minimum of elbow grease!
We began by taking apart the old chair, which I rescued last fall for $30 from a fabric store going out of business.
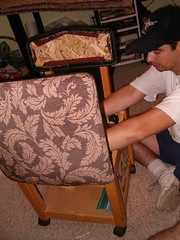
Scott was impressed with how well-made it was; I just like that I can roll between my sewing machine, serger and ironing board without getting up! Plus it has a handy storage compartment beneath the seat, which is hinged.
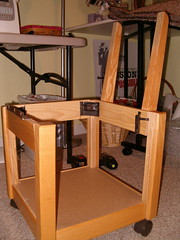
Originally I was going to slipcover the seat back, because I couldn't figure out how it was put together. Turns out it's in two pieces; a flat piece (visible in the above photo) attaches to the rails, and the padded back screws into that. Clever and simple. We covered those two pieces separately and sandwiched the piping between.
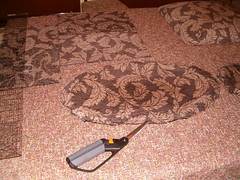
The chair had been reupholstered once before. We removed the brown fabric, but decided to leave the original maroon on the cushions to hold the shape of the foam. I used the old pieces as templates to cut out the new ones, adding a couple of inches so we'd have something to grab and stretch over the cusions.
Would've worked great if I hadn't mixed up two of the pieces!
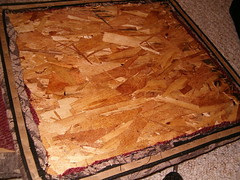
We removed a zillion staples from the old seat (above); one set held the fabric in place, another secured the piping, and yet another held a cardboard strip to the piping. This turned out to be a neat trick which I copied (recycling the same cardboard strip) on the new seat (below).

The recycled strip of cardboard provides an edge to help the piping stand up. This is important because the backing board that covers the seat is cut too small to reach the edge.
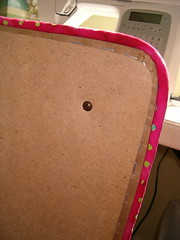
See how the cardboard strip makes up the difference?
The panels that cover the storage box simply slipped out of their grooves in the frame. We peeled two layers of fabric off to reach the bare board and used spray contact cement and a brayer (borrowed from my stamping tools) to apply the new fabric.
I had to take a break partway through the process because Scott and his dad needed the air gun to work on the roof (priorities!). I used the time to pin the piping in place, using upholstery t-pins I'd forgotten I owned; and clean out the castor wheels, which had yards of old thread wrapped around the axles from years of use in a sewing store. When the men took a break to move scaffolding from the backyard to the front, I snagged a few minutes with the air gun to staple on the piping. All that was left was to reassemble the "new" chair!
posted by highpowermom @ 11:47 PM
![]()
![]()
0 Comments:
Post a Comment
<< Home